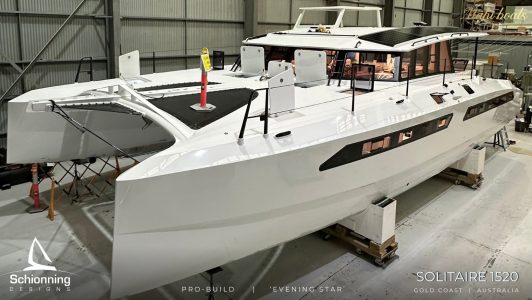
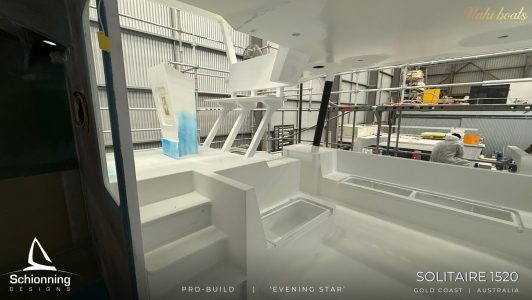
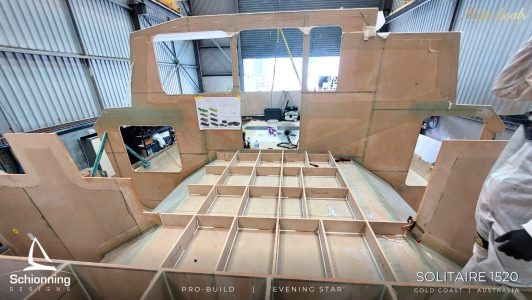
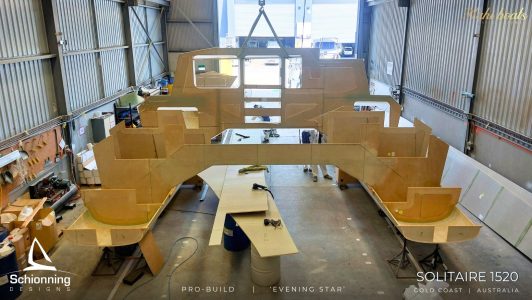
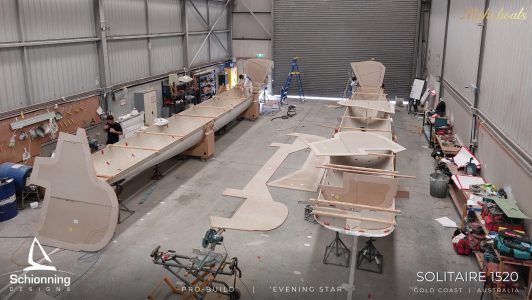
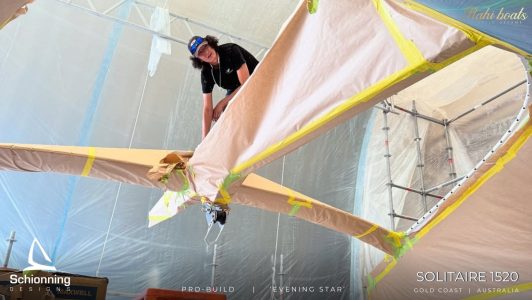
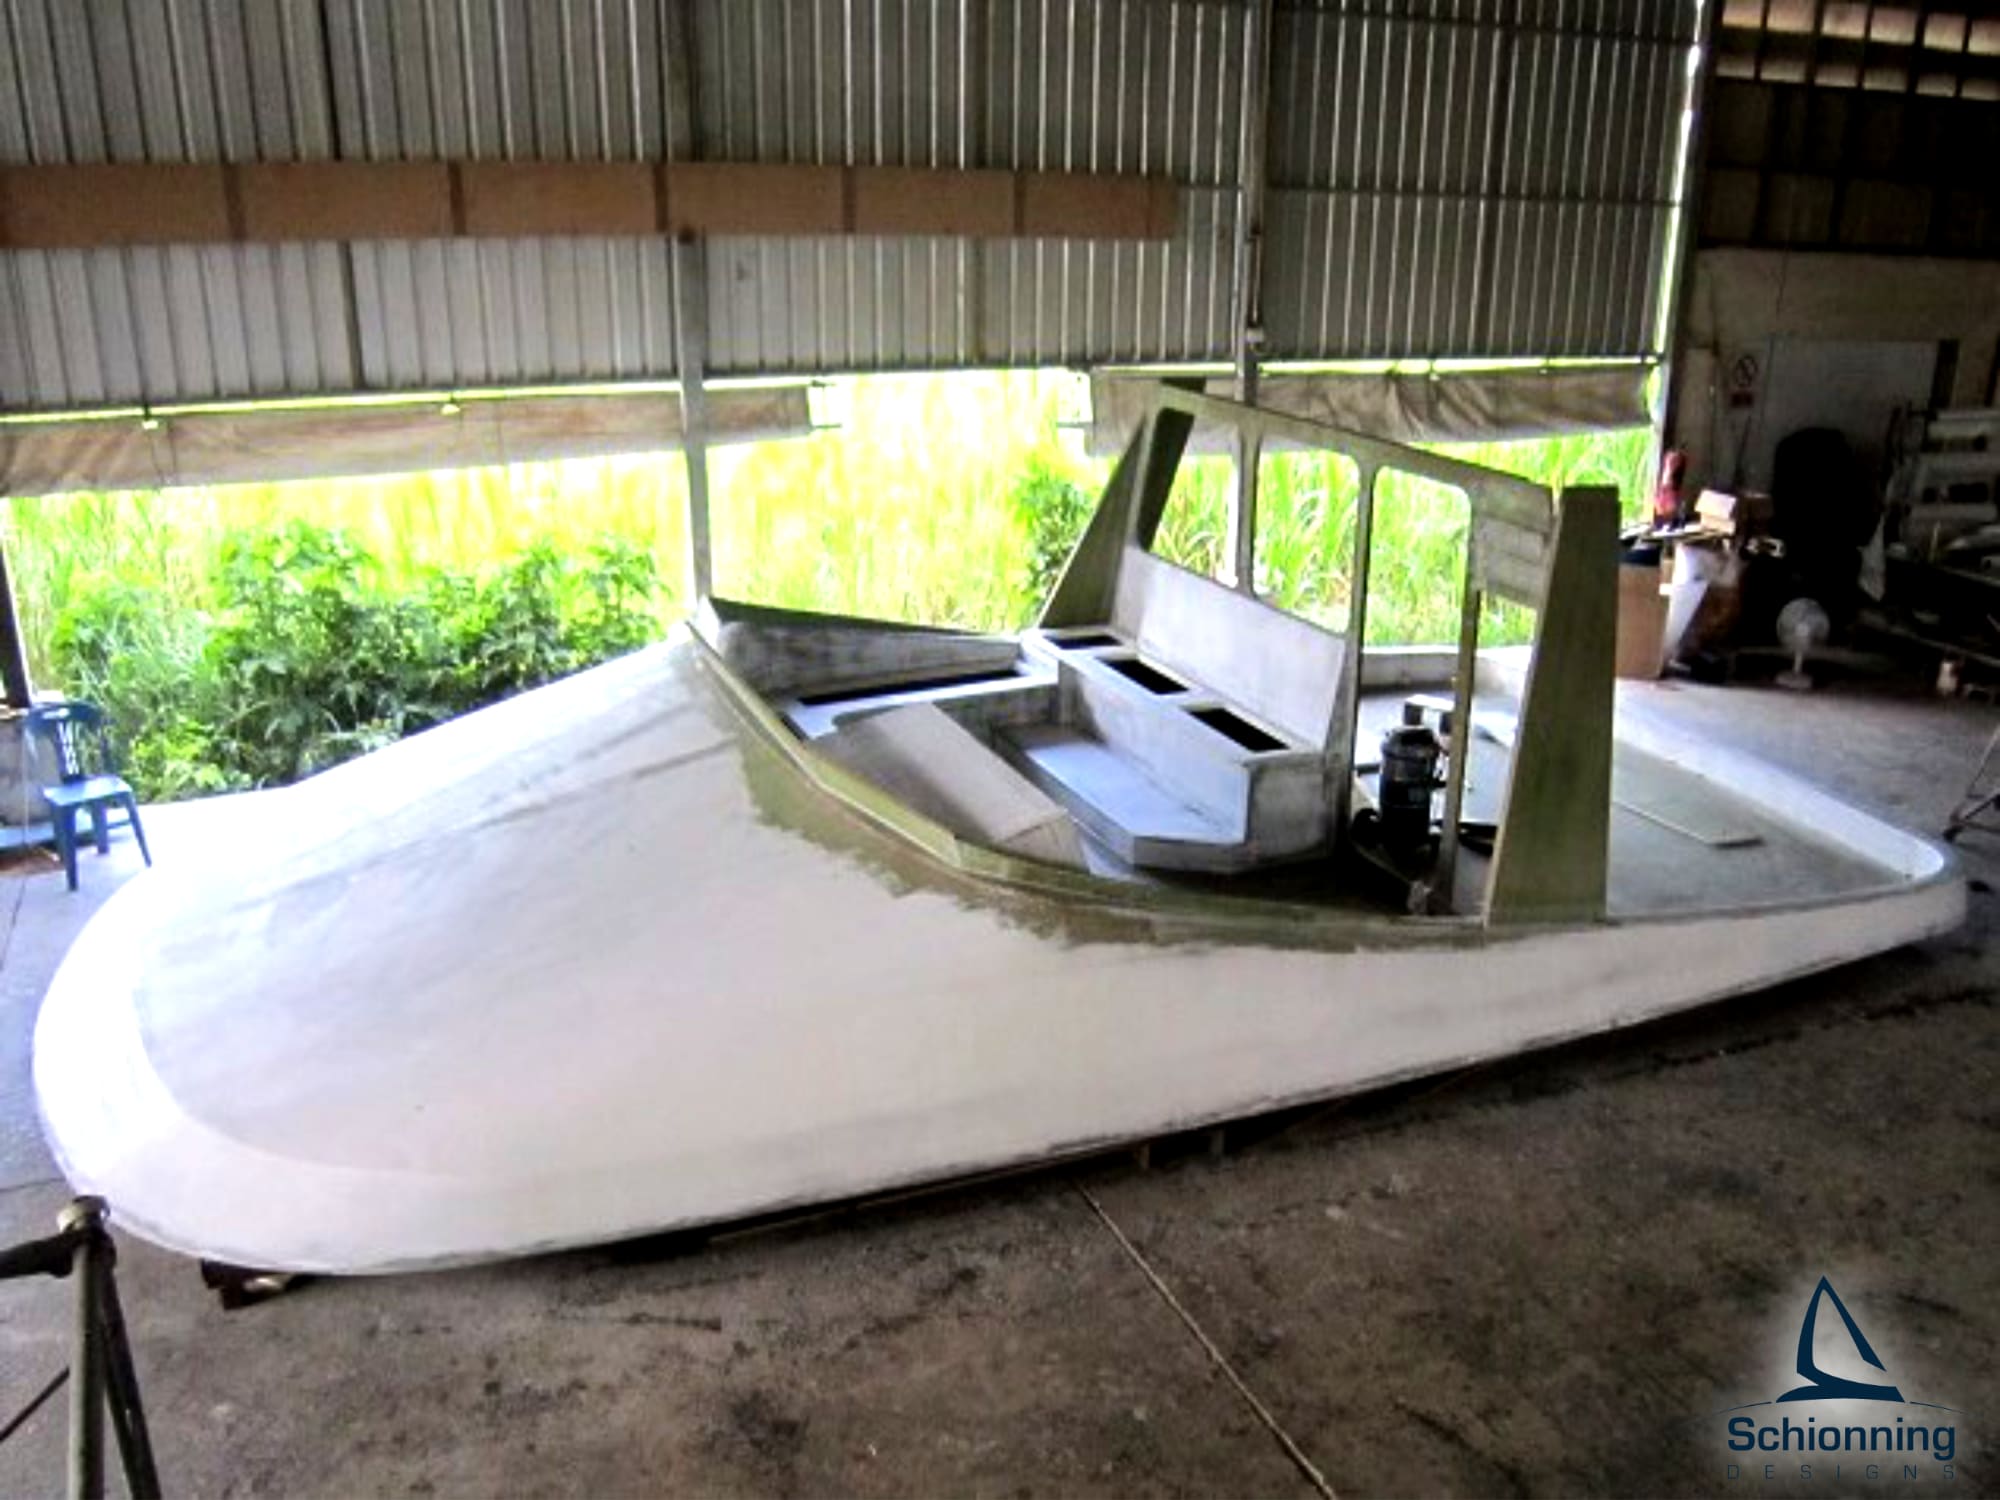
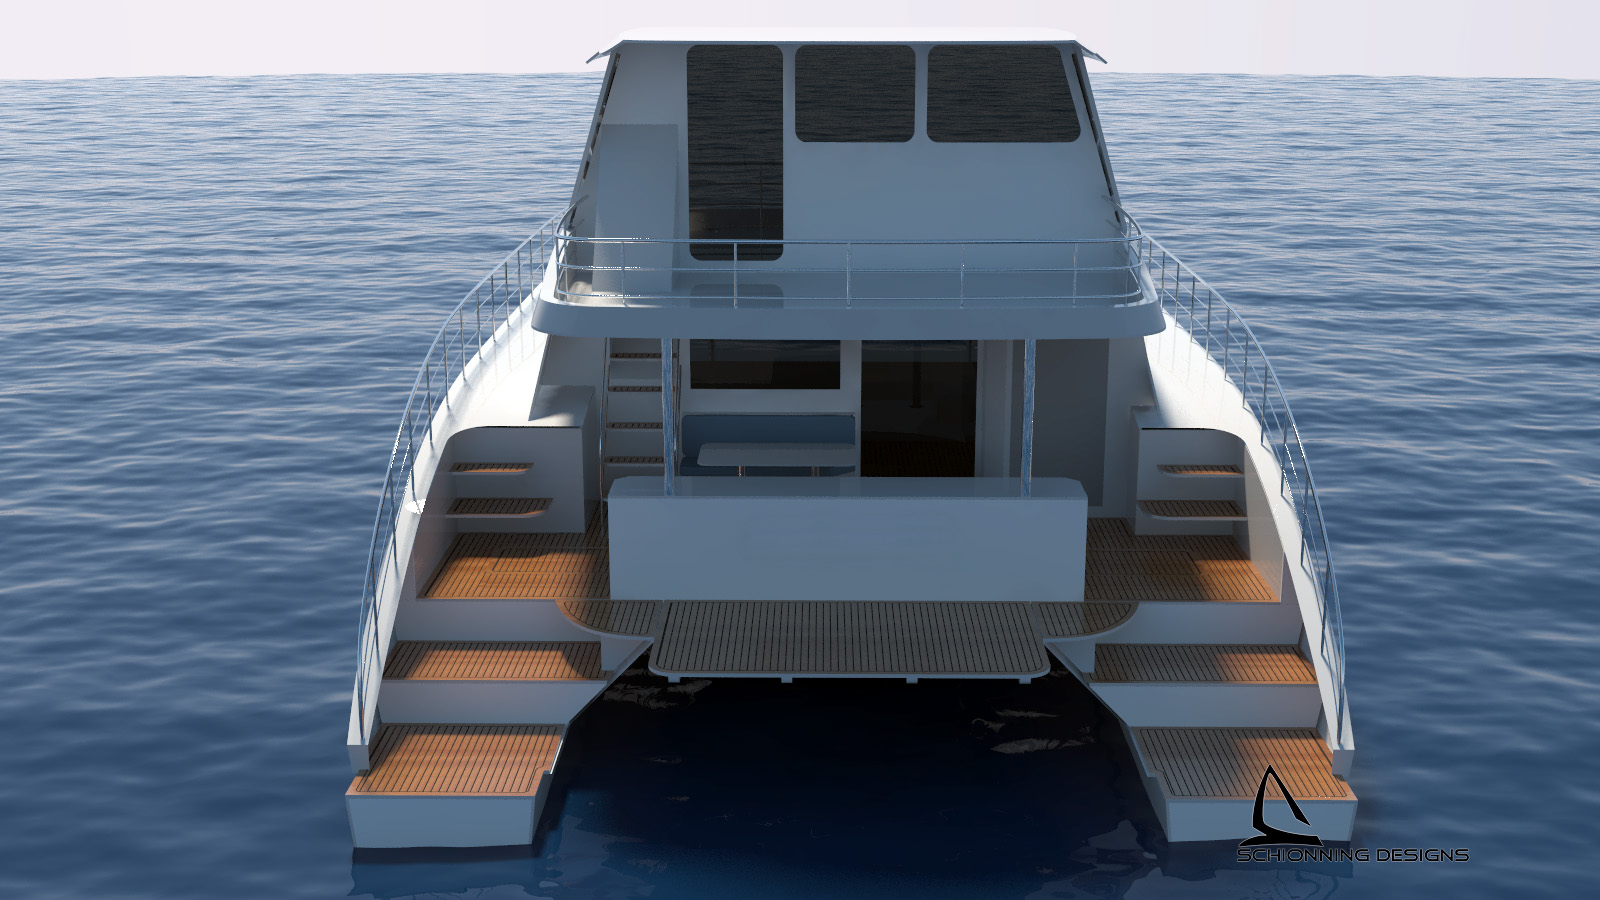
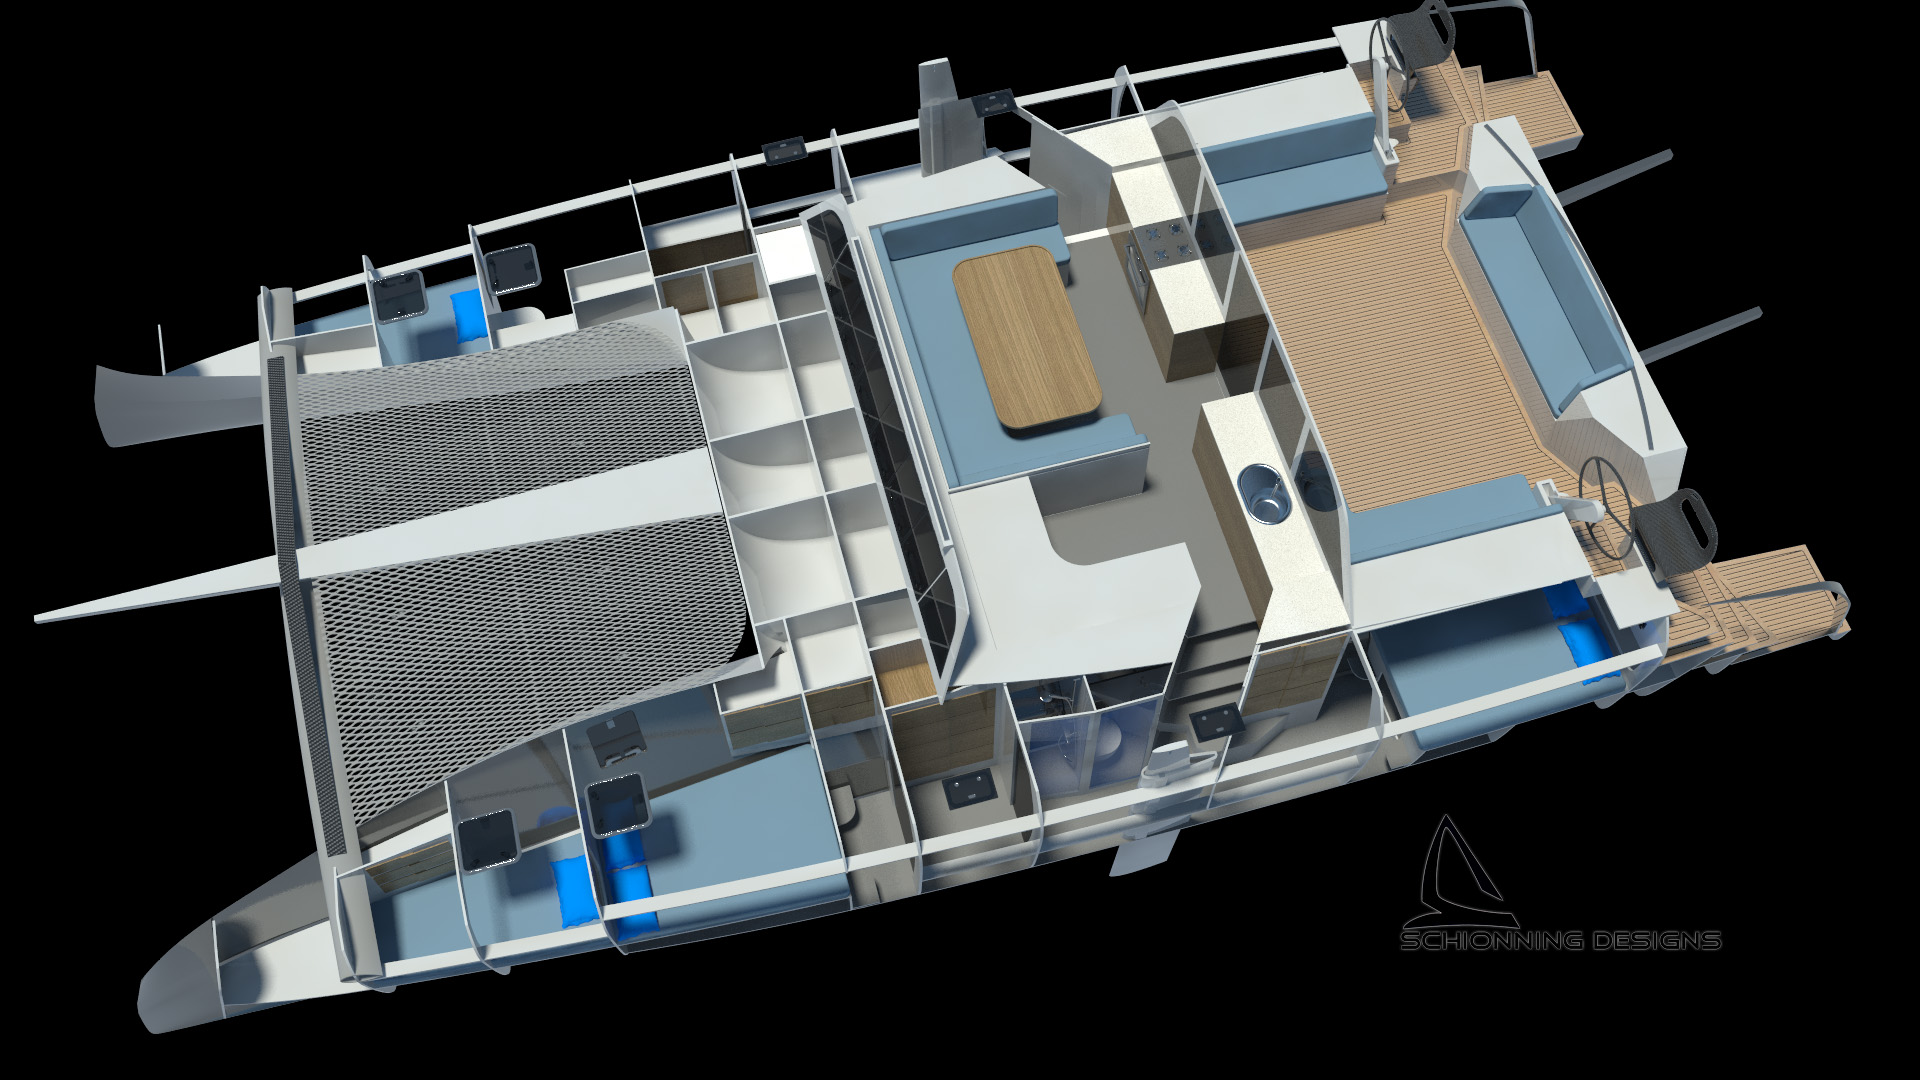
The Schionning Designs Solitaire 1520 Multihull Catamaran offers similar internal comfort and space to the production boat competition, but she is far lighter, stiffer and stronger with better waterline beam values and higher power to weight ratio.
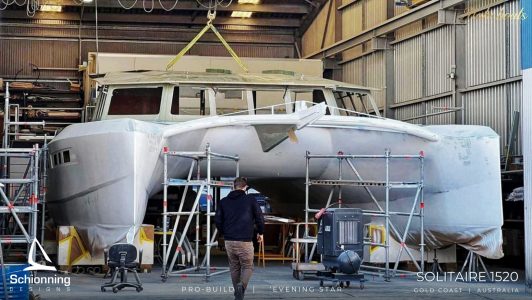
This is a serious blue water cruiser capable of taking you around the world with high mileage daily runs in comfort and safety with minimal slamming.
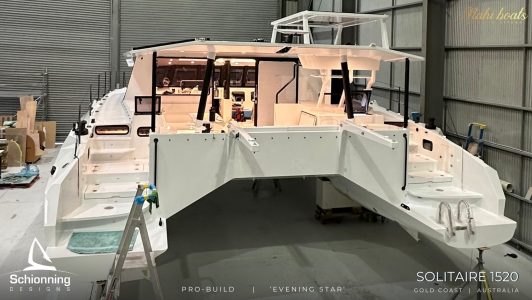
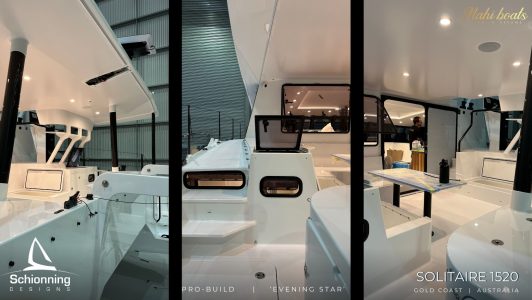
Her primary design feature is an efficient performance sailing catamaran with high bridgedeck clearance and angled tunnel panels to minimize slamming. She has a strong beam / length ratio and strong sail area / displacement ratio. Yet the Solitaire has our best interior volume ever allowing multiple versatile layouts and the payload to compliment it.
On the propulsion side she has an efficient alloy mast and boom fully battened deep roach main, single line main reefing in the boom, roller furling headsail, and furling screecher on the prodder. A para-spinnaker finishes off her downwind capability. A simple, fast, and efficient rig.
Engine power comes from two 20 kW electric motors and a single 80 HP shaft-drive with folding props set comfortably forward for easy access from inside the hulls. This hybrid system will power all the equipment and air conditioning. There are large water and fuel tanks to ensure that the vessel is fully self-sufficient while away from the dock.
This graph shows the estimated cost of materials for a range of different sized sailing catamarans, finished to a basic standard with standard equipment.
The material cost is all materials needed to build and finish the boat, and does not include the cost of any labour. For home builders, this cost may reflect the entire project cost if doing all labour yourself. However if having the boat built professionally you should multiply your builder's hourly rate by the estimated build hours of your chosen design to get an estimated labour value. These figures include the construction plans and kit price.
The construction plans supplied by Schionning Designs are mostly CAD-drawn sheets taken from our full 3D model for accuracy. We use a plethora of design programs to create our plans and we stand behind them 100%, providing back-up support should you encounter any troubles during your build. Please be aware that plans are NOT included in the price of your kit and will need to be purchased seperately.
Often when we are working on a custom design for a client that is going to be professionally built, the plans may be Hand Drawn by Jeff, there are a number of reasons for this - the main being that experienced Schionning-recommended builders know our designs and systems and therefore require less instruction and merely the bare technical information. So depending on your experience and needs, we regularly tailor the supplied design package.
Our Plan prices include delivery via an electronic download link. Alternatively plans can be posted to anywhere in the world via courier with a tracking service.
Postage times can vary enormously, so we cannot guarantee delivery times.
Plans which are for courier, will be delivered in PDF format on a USB drive.. Electronic copies are far more durable and reliable than the paper equivalents. Paper plans can be arranged if necessary at an extra cost.
Plans can be mailed to worldwide destinations via courier. All plans are now delivered electronically, whether hand-drawn or in CAD, in PDF format on a USD drive. Paper plans can be arranged at an extra cost if required. Please enquire directly with us for these rates.
Electronic copies are far more durable and allow cheap printing locally, as well as convenient re-printing when plan sheets inevitably become damaged in the shed.
These prices are for the construction plans only. For Kit pricing please contact us.
PLEASE NOTE:
Our designs require the purchase of the pre-cut kit & cannot be constructed using the plans alone.
These prices are for the construction plans only. For Kit pricing please contact us.
The Schionning Designs International Solitaire Series is a serious blue water cruiser capable of taking you around the world with high mileage daily runs in comfort and safety with minimal slamming.
The Solitaire 1490 offers similar internal comfort and space to the production boat competition, but she is far lighter, stiffer and stronger, with better waterline beam values and higher power to weight ration.
Designed primarily as an efficient fast sailing cat with high bridgdeck clearance and chamfer panels to minimize slamming.
The Schionning Design studio can accommodate all design requests, including those for commercial vessels or charter boats, whether it is bare-boat charter, skippered, or day charter with a number of passengers.
The different commercial designs completed will be displayed here, and if there is nothing that fits your needs, contact us for a custom design quotation.
A signed copy of our ORDER FORM must be scanned and emailed to our office before the plans will be sent to you. This is important as this confirms your acceptance of our terms and conditions.
What is included in the plans?
Aside from the CAD drawings you receive, all Plan purchases include backup regardless of how long the project takes you.
A Build Manual is included with your plans purchase. The build documentary, available to email in PDF form, has been tailored particularly to the flat panel construction but covers all other aspects and techniques that apply to all designs and you will find useful.
Your plan sheets will be A3 and A1 detailed sheets in PDF format on a USB drive. The actual plans vary depending on the design so please ask us for a plan index that will show the exact detail and number of sheets that are provided in the design that interests you.
Your plan sheets will be A3 and A1 detailed sheets in PDF format and sent via an electronic download link unless otherwise requested.
The actual plans vary depending on the design so please ask us for a plan index that will show the exact detail and number of sheets that are provided in the design that interests you.
Boyard Croisiere are a charter business that have now started building our catamarans. They began their build program with the Arrow 1500 Day Charter to put into their fleet. They’re ideally located in quaint La Rochelle, France. They are now set up to build for clients. Boyard Croisiere is an Official Agent of Schionning Designs.
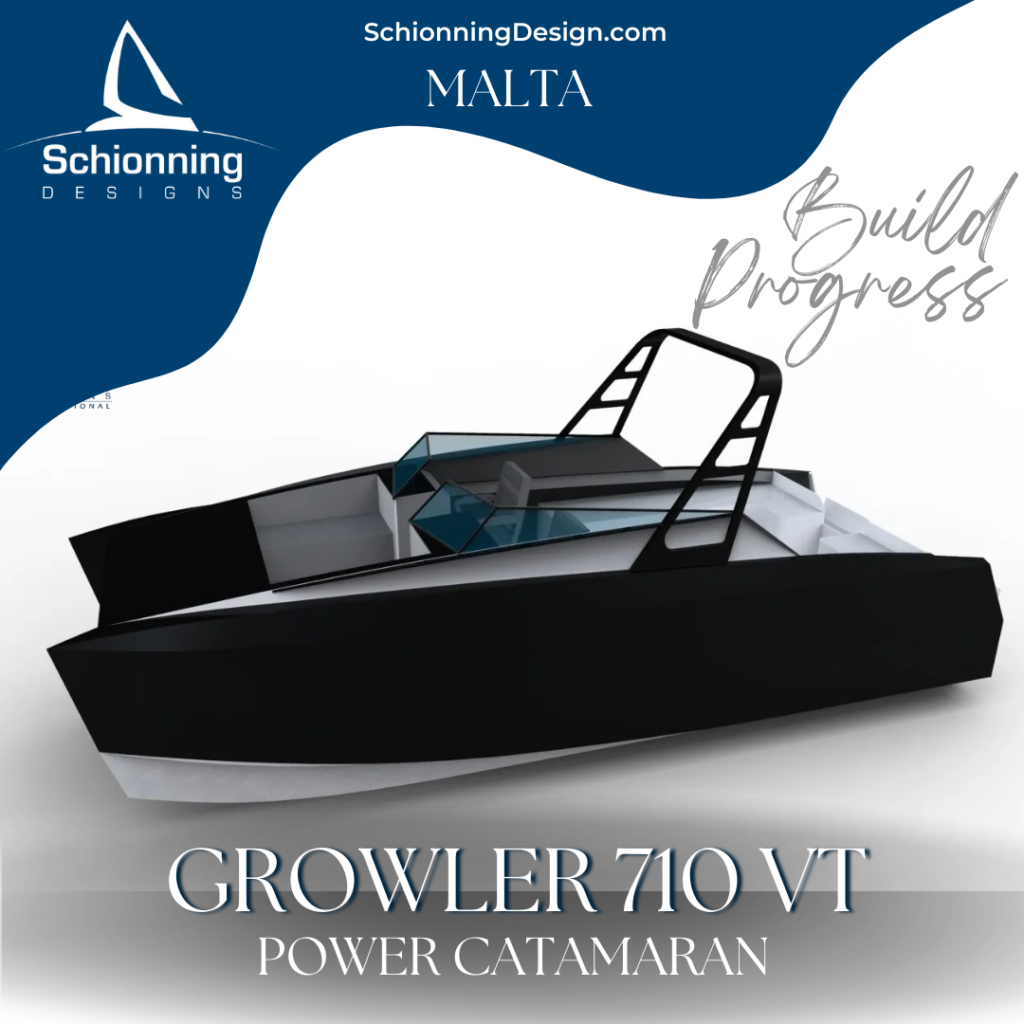
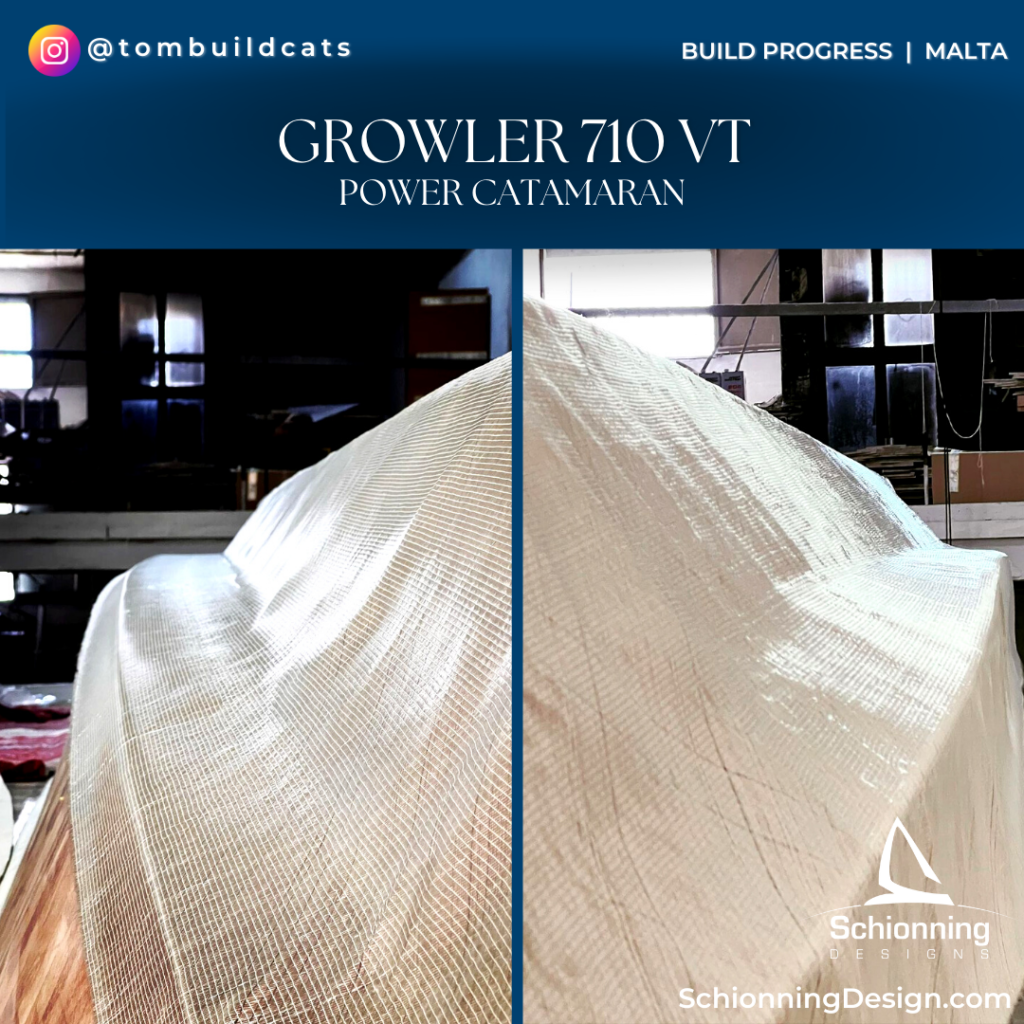
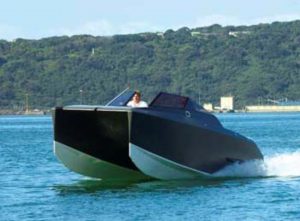
The Growler 710 VT has been designed specifically for those interested in a fast, practical run-a-bout for fishing, over-nighting or sports, with three different versions available.
These cats have found huge favour locally and worldwide with special interest from France and New Caledonia. It is refreshing to see some people appreciating the ‘true’ multihull values of a proper A hard-top cover provides much needed shade when out on the water, as well as plenty of space to work while remaining extremely stable in even the largest swells.
She has excellent load carrying capabilities, and can be loaded with equipment and passengers more so than other boats of similar size or perhaps just to bring home all the fish! The reduced size bimini reduces interference with rods and casting. Depending on your needs, a small 12v fridge could easily be fitted.
This is a new take on the ‘bowrider’ style, with good looks, extraordinary speed and fantastic fuel economy.
For more information please download our Study Plans on this design using the link below.
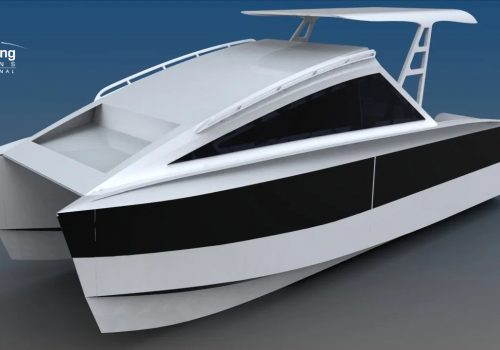
The Growler 710 VT Fishing has been designed specifically for those interested in a fast, practical run-a-bout for fishing. A hard-top cover provides much needed shade when out on the water, as well as plenty of space to work while remaining extremely stable in even the largest swells. She has excellent load carrying capabilities, and can be loaded with equipment and passengers more so than other boats of similar size. Or perhaps just to bring home all the fish! The reduced size bi-mini reduces interference with rods and casting. A small fridge can be installed, and theres plenty of rooms for eskies. Floor space is kept flat with one step forward to maximise the room when fighting a big catch. The Growler 710 VT Fishing is the ultimate fishing machine!
Growler 710 VT SPORTS
The Growler 710 VT Sports is the ultimate run-about for waterskiing, wakeboarding, or simply taking out friends and family for a day on the water. With plenty of seating for 6 passengers, or more should you require – you won’t have to leave anyone at home. Perfect for loading the camping gear and taking off up rivers, creeks and inland waterways, as well as extremely seaworthy for those adventures that take you out into the ocean swells. Easily beached, just raise the outboards or anchor and swim from the transom. Depending on your needs, a small 12v fridge (and port-a-potty) could easily be fitted to keep the beer cold while lazing on the beach. This is a new take on the ‘bowrider’ style, with good looks, extraordinary speed and fantastic fuel economy.
Growler 710 VT CUDDY CABIN
The Growler 710 VT Cuddy is our third option for the ultra-efficient registered VT (Vapour Trail) hull shape used on the 6.5m platform. She boasts a surprisingly roomy cabin, with a double berth from which a table extends to create a dinette if required. A small fridge, small gas cook-top and port-a-potty can also be installed if desired. This little weekender is perfect for inland lakes or skipping out to the islands at a top speed or 45 knots (depending on engine choice). Exceptional ocean going ability is a key feature. The Cuddy can also be trailered and stored in the driveway during the week. Built from balsa-core Duflex panels, this tough little cat is perfect for those weekend trips with friends and family or a romantic retreat with a partner.
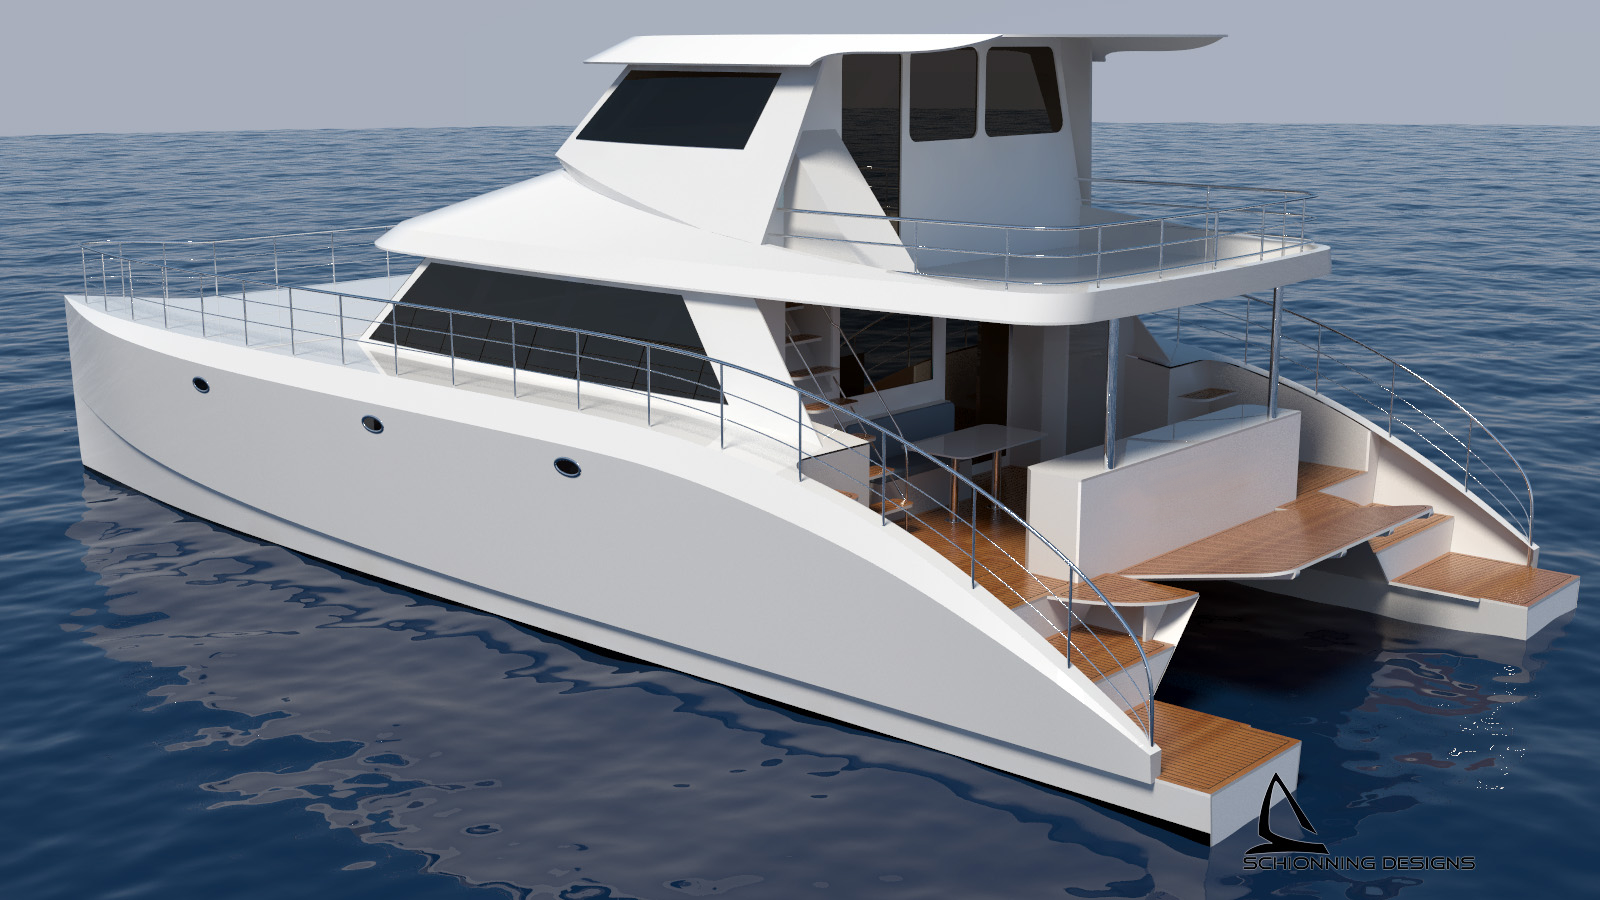
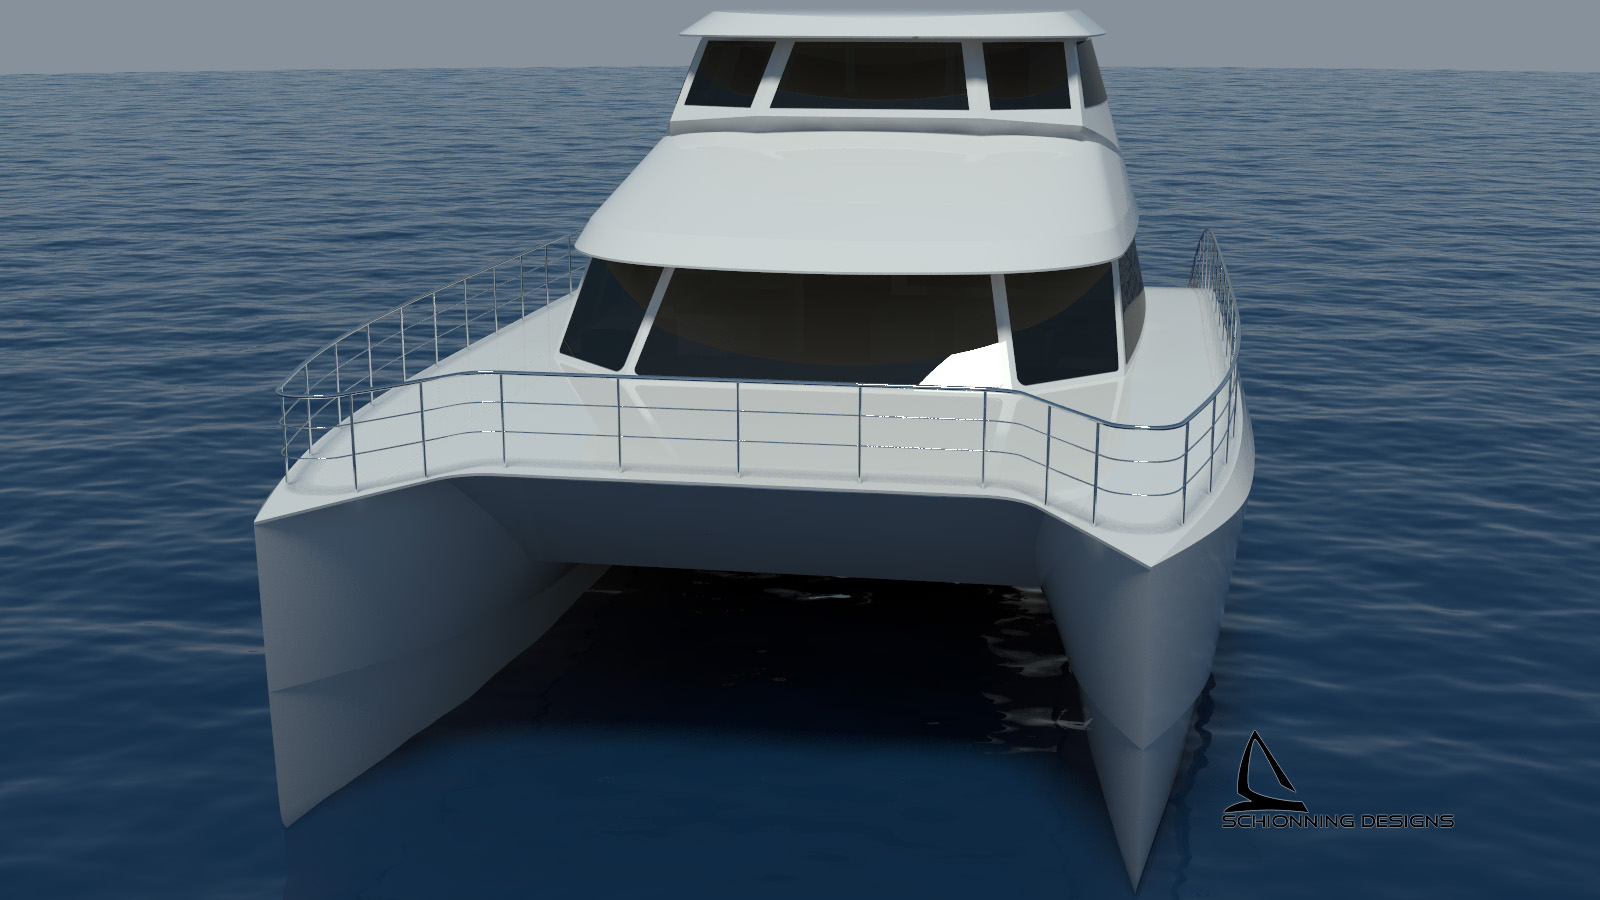
The Prowler 1500 is a semi-displacement power catamaran design, following a more traditional style in comparison to some of the more modern power designs such as the growler series.
The bows have been kept quite square and sharp, and the cabin features large wrap around windows and angular styling. The foredeck runs forward to the front of the bridgedeck providing a wide spacious area for sunbathing, enjoying a glass of champagne or giving storage space for dinghy or other cruising toys.
The layout is open plan and offers a surprising amount of interior space and accommodation due to the Prowler’s wide hulls—significantly wider than that of her Alaskan sisters. This extra width does allow a little more freedom when configuring the layout and combats the ‘stuffy' enclosed feeling that being down in the hull can bring.
The Prowler 1500 is a large displacement hulled cruiser that will sleep 4-86 family or friends comfortably. She has a very large light ‘n airy galley and saloon allowing full-size appliances. The cockpit is also designed for entertaining, cooking, toys, and fishing. The flybridge is generously laid out which could also covert into a premium berth. The upper deck also has wide possibilities for storage or entertaining.
The Prowler 1500 is a large displacement hulled cruiser that will sleep 4-6 family or friends comfortably.
For more information please download our Study Plans on this design using the link below.
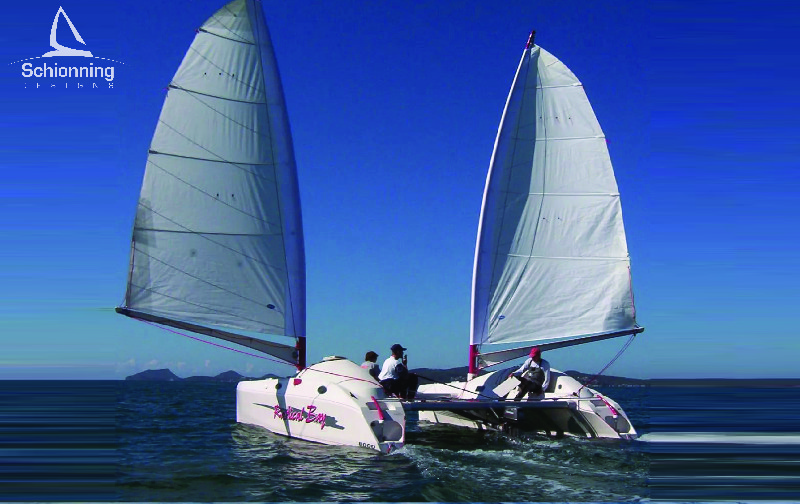
The Radical Bay 1060 is the bigger sister to the 8000, and provides that little step up in accomodation, space and performance. Again a standard rig is an option, however the composite bi-plane carbon masts are still the recommended configuration.
Unlike the Radical Bay 1060 has a spacious hard-floored cockpit with ample seating for all the family and friends and comes with the option of either single aluminium mast or bi-plane rig.
The Radical Bay 1060 has a very usable interior with a tidy galley area, a head and shower aft port-side and accommodation for 6 people - 2 double and 2 single bunks. A small dinette doubles as the second double bunk with a fold down dining table.
The Radical Bay 1060 utilises strip planking construction to provide a cheaper, quicker and easier build. The boat can be transported in a shipping container in three sections should transportation be necessary. Whether you're looking for a simple, fun weekender or a light live-aboard, you cannot go past the Radical Bay 1060.
For more information please download our Study Plans on this design using the link below.
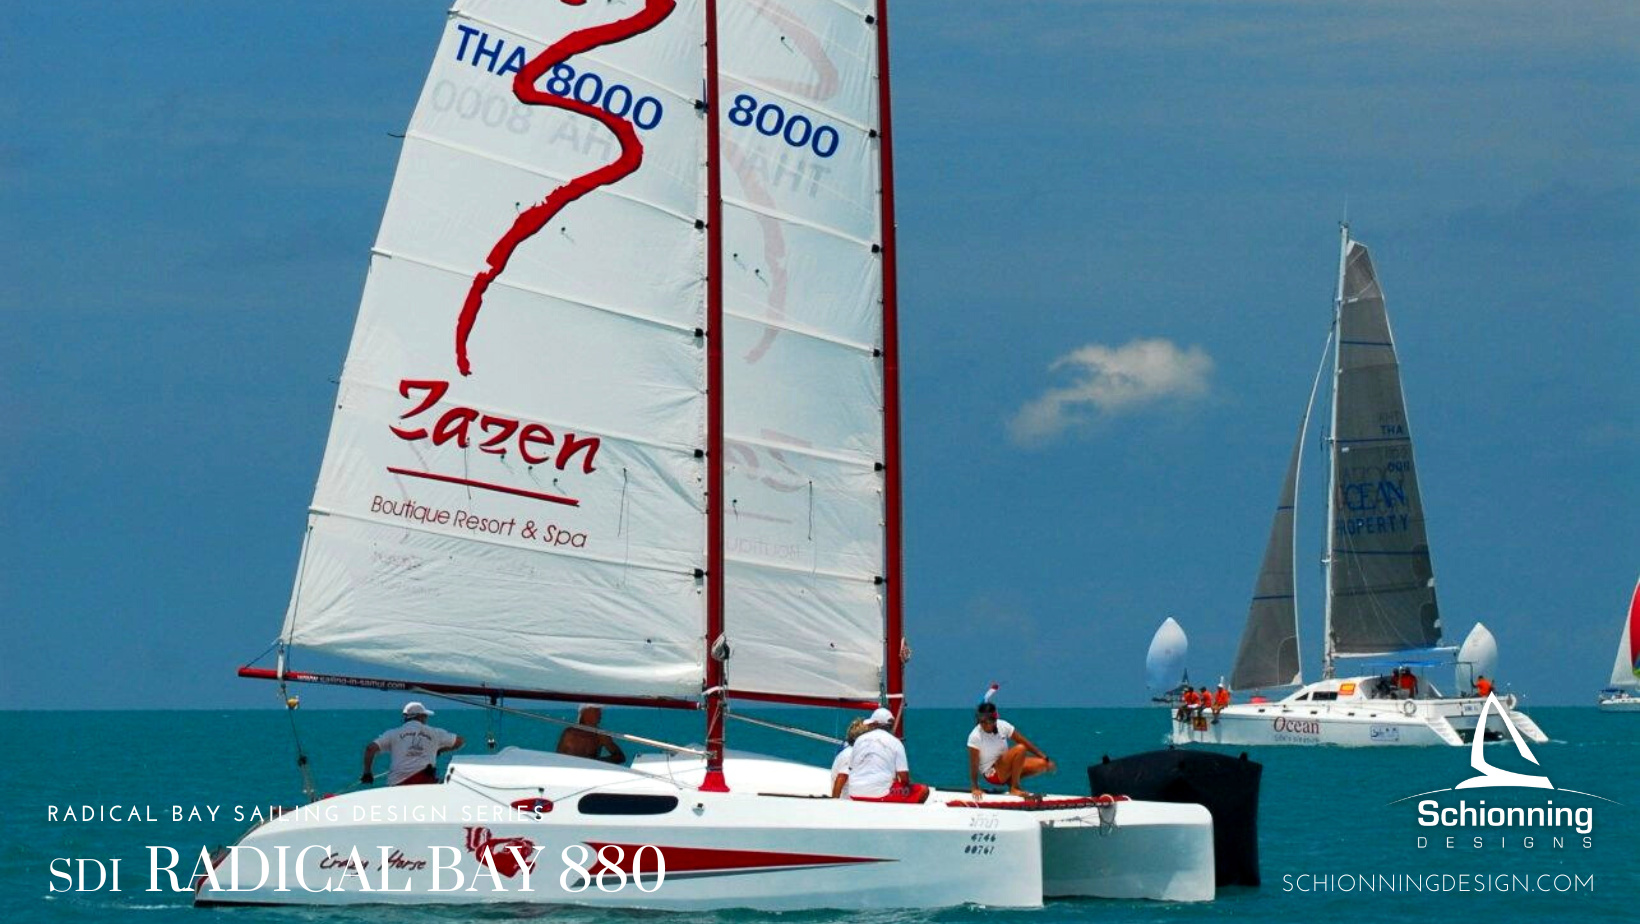
Schionning Designs Radical Bay 800 is a small weekender or coastal cruising catamaran, that still has enough sea-keeping ability to cross an ocean or two. The bi-plane rig provides amazingly easy sailing. which truly must be witnessed to believe.
A standard rig is an option and is at the owner's discretion. There are a number of Radical Bay 800's on the water, and many have done very well in racing events in Australia and Asia.
For the Radical Bay 800, I have chosen a simple hull form, with a vee section forward to stop slamming running aft to a flat exit to reduce hobby horsing. The asymmetric hull shapes as used on most of our designs benefit the boat in a number of ways.
The layout is surprisingly comfortable for such a small cat especially with good speed being kept in focus: the fwd bunks are comfortable and an aft "double" can easily sleep two friendly people. I have added a cockpit in each hull, the cabin offers some protection but mostly to have a comfortable sitting position with good visibility protected from those annoying unexpected splashes that sneak up through the tramps now and again.
She is definitely the future, an amazing looking, fast, exciting, simple and cheap to build cat. No such thing? True until now. She is a very safe, easy to handle coastal cruiser, a little cat a couple could live on for months at a time and yet easily demounted to transport anywhere if sold.
For more information please download our Study Plans on this design using the link below.
The Arrow 1201 promises the same sailing experience and performance of the 1200 version yet with a revised interior and cockpit giving more options.
Schionning Designs International presents the Arrow 1201 Catamaran,
The Arrow 1201 promises the same sailing experience and performance of the 1200 version yet with a revised interior and cockpit giving more options.
The Arrow 1201 has the same layout to the Arrow 1280s : 4 berths and 2 heads. Other layout options include twin owner’s hulls, or Stbd owner’s hull with Port guest hull, or 5x berths & 1x head/shower. See more details showing the 3 cabin version with stbd owner’s hull and port guest hull. The helm options are: Central Raised Helm (shown), bulkhead helm (twin or single), or dual tiller steering. The Stbd berth has been widened to be a full queen with great volume inside. This required a reshaping of the cockpit compared to the Arrow 1200. The Navigation table is now cleverly in the saloon allowing closet shelves below in port hull.
The Standard CM²52 built using epoxy resin infused composite E-Glass, 80-130kg/m3 Foam core achieving optimal weight and strength.
Carbon used extensively in locally reinforced structural areas.
The Carbon CM²52 CR built using epoxy resin infused composite
Carbon,
80-130kg/m3 Foam core achieving optimal weight and strength.
Externally-spray finish Awl Craft 2000 in light solid colour of choice/Anti-slip/ Antifouling barrier coatings.
The CM²52 is primarily designed for the purist, experienced and adventure cruising racer sailor who wants an efficient fast performing sailing design that is spacious due to its open plan saloon and cockpit.
Designed as a lightweight owner cruiser racer or for the
performance charter owner.